Fresh paint, new flooring, upgraded fixtures, and modern interiors can completely change the appearance of a property. However, even the best renovation project leaves behind dust, debris, paint residue, adhesive marks, and construction particles that can affect the cleanliness and comfort of the space.
Many property owners are surprised by how much cleaning is required after renovation work is completed. Fine dust often settles into corners, cabinets, light fixtures, air vents, and other hidden areas that standard cleaning cannot fully address.
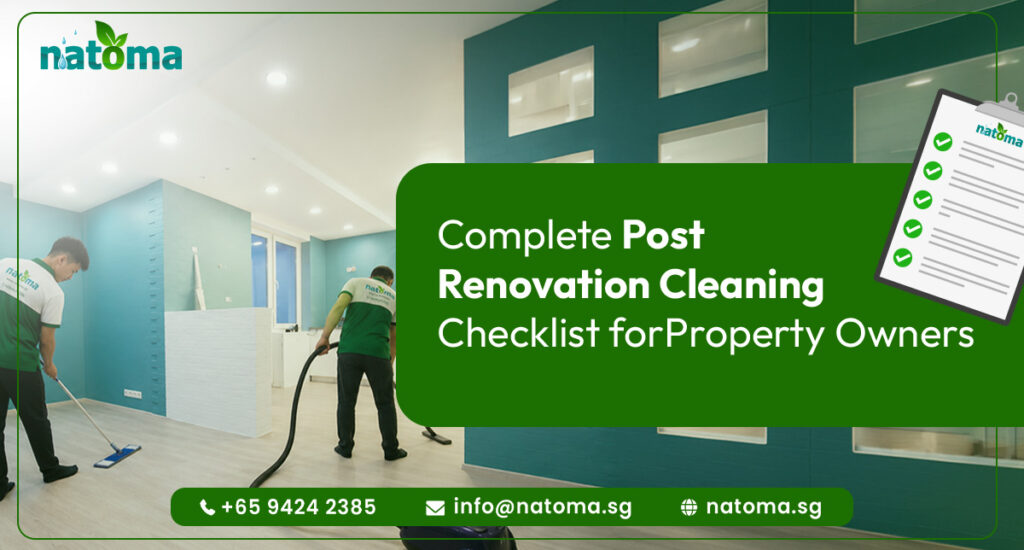
That is why following a post renovation cleaning checklist is essential. A structured cleaning process helps ensure every area is inspected, cleaned, and prepared for safe occupancy.
Why Post Renovation Cleaning Is Important
Construction and renovation activities generate large amounts of dust and debris.
Common renovation residues include:
Fine construction dust
Paint splatters
Silicone residue
Cement stains
Wood particles
Adhesive marks
Packaging waste
Without proper post renovation cleaning, these materials can remain hidden throughout the property and affect indoor cleanliness.
Professional Post Renovation Cleaning helps restore the property to a move-in-ready condition.
Areas That Need Immediate Attention
Before focusing on detailed cleaning, property owners should ensure:
- Renovation work is fully completed
- Construction materials have been removed
- Waste disposal has been completed
- All fixtures and fittings have been installed
- Electrical and plumbing works are finished
This allows cleaning teams to work efficiently without interruption.
Room-by-Room Post Renovation Cleaning Checklist
Living Room Areas
The living room often collects significant amounts of dust during renovation.
Area Wise Checklist:
- Dust walls and ceilings
- Clean light fixtures
- Remove dust from skirting boards
- Wipe switches and power points
- Clean windows and frames
- Vacuum and mop flooring
- Remove adhesive residue
- Clean air-conditioning vents
Kitchen Cleaning Checklist
Kitchens require extra attention because renovation dust can settle inside cabinets and storage spaces.
Checklist:
- Clean countertops
- Wipe cabinet interiors and exteriors
- Remove dust from drawers
- Clean sinks and faucets
- Remove protective stickers
- Degrease surfaces if necessary
- Vacuum hidden corners
- Clean backsplash areas
Bathroom Cleaning Checklist
Bathrooms often contain grout residue, dust, and construction debris after renovation.
Checklist:
- Clean wall tiles
- Scrub floor tiles
- Remove grout haze
- Sanitize toilets
- Clean mirrors
- Polish fittings
- Check drainage areas
- Clean shower screens
Bedroom Cleaning Checklist
Bedrooms should be thoroughly cleaned before furniture is installed.
Checklist:
- Dust walls and ceilings
- Clean wardrobes inside and outside
- Remove window dust
- Vacuum flooring
- Wipe door frames
- Clean electrical switches
- Remove paint spots
- Clean curtain tracks
Windows and Glass Surfaces
Glass surfaces easily show renovation dust and residue.
Checklist:
- Clean window glass
- Remove stickers
- Polish mirrors
- Wipe frames and tracks
- Remove paint marks
- Clean balcony glass panels
Flooring Inspection and Cleaning
Different flooring materials require different cleaning methods.
Checklist:
- Vacuum dust thoroughly
- Remove construction debris
- Clean tile grout lines
- Polish hard flooring
- Remove paint splashes
- Inspect corners and edges
- Mop with suitable cleaning solutions
Hidden Areas Commonly Missed
Many property owners focus only on visible surfaces.
However, these hidden areas often collect the most dust:
- Behind cabinets
- Above wardrobes
- Air vents
- Ceiling corners
- Door frames
- Window tracks
- Under sinks
- Behind appliances
- Storage spaces
These locations should always be included in any Post Renovation Cleaning Checklist.
How Natoma Handles Post Renovation Cleaning Professionally
Renovation cleaning requires more than basic housekeeping.
Natoma Cleaning Service provides structured post renovation cleaning services designed to remove construction dust, debris, and hidden contaminants efficiently.
Natoma’s cleaning teams focus on:
Detailed Dust Removal
Fine dust is removed from visible and hidden surfaces.
Surface Cleaning and Restoration
Walls, floors, fixtures, and fittings receive thorough attention.
Window and Glass Cleaning
Glass panels, frames, and tracks are cleaned to improve visibility and presentation.
Floor Care
Different floor materials receive suitable cleaning methods based on their condition.
Final Property Preparation
The property is cleaned and prepared for occupation, furnishing, or handover.
By following a systematic approach, Natoma helps property owners move into cleaner and more comfortable spaces after renovation work is completed.
Common Mistakes Property Owners Make
Avoid these common errors:
Cleaning Too Early
Cleaning before renovation work is fully completed often results in repeated cleaning.
Ignoring Hidden Dust
Dust can remain inside cabinets, vents, and storage areas.
Using Incorrect Cleaning Products
Some renovation residues require specialized cleaning methods.
Skipping Final Inspection
A final walkthrough helps identify missed areas before moving in.
Conclusion
Renovation work can dramatically improve a property, but the final result is only complete after Proper Post Renovation cleaning. Following a post renovation cleaning checklist helps ensure every room, surface, and hidden area receives the attention it needs.
From removing construction dust and paint residue to cleaning windows, floors, and fixtures, post renovation cleaning plays an important role in preparing a property for everyday use.
For property owners seeking reliable support, Natoma Cleaning Service provides professional post renovation cleaning services that help transform newly renovated spaces into clean, comfortable, and move-in-ready environments.
Frequently Asked Questions
The time required for post renovation cleaning depends on the size of the property and the amount of construction dust. A standard residential post construction cleaning service may take several hours, while larger properties can require a full day or more.
Yes, post renovation cleaning is worth it because renovation projects leave behind fine dust, construction debris, and residues that regular cleaning may not remove effectively. Professional post construction cleaning helps improve indoor air quality and protects newly renovated surfaces.
The cost of post renovation cleaning depends on the property size, level of dust and debris, and cleaning requirements. Professional post renovation cleaning services typically charge based on square footage, number of rooms, and the extent of construction cleanup needed.
Construction dust is removed using HEPA vacuuming, microfiber wiping, wet cleaning of surfaces, air vent cleaning, and detailed deep cleaning of hidden areas like corners, cabinets, and window tracks. Natoma Professional Cleaning Service follows a systematic post renovation cleaning process to ensure every surface is thoroughly cleaned, leaving your property dust-free, hygienic, and move-in ready.

